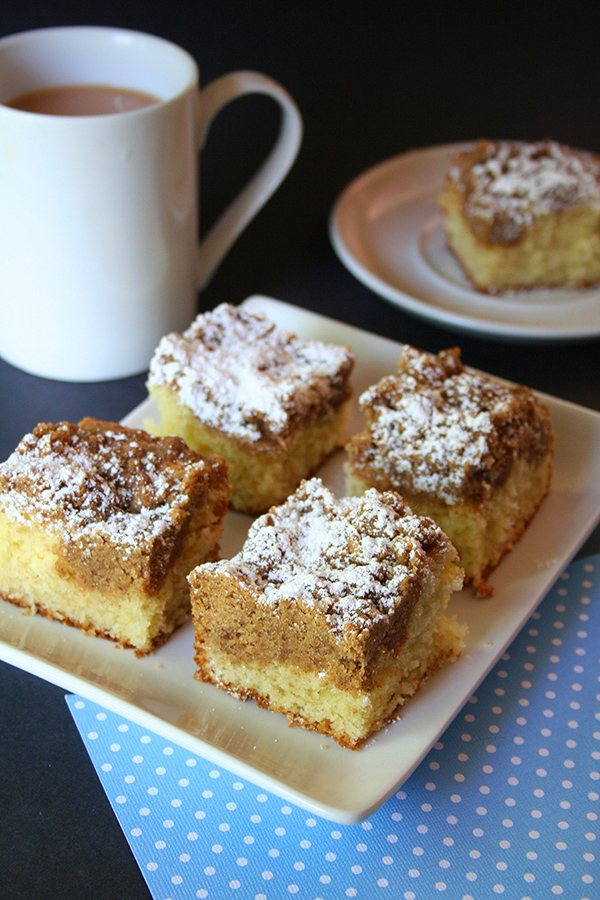
Hi friends! Here is a companion post to my longer post about my baking adventure evening. This is the recipe for sugar cookie dough buttercream that I experimented with in that post!
In a nutshell, I was wondering what would happen if I used sugar cookie mix instead of confectioners' sugar to make a buttercream.

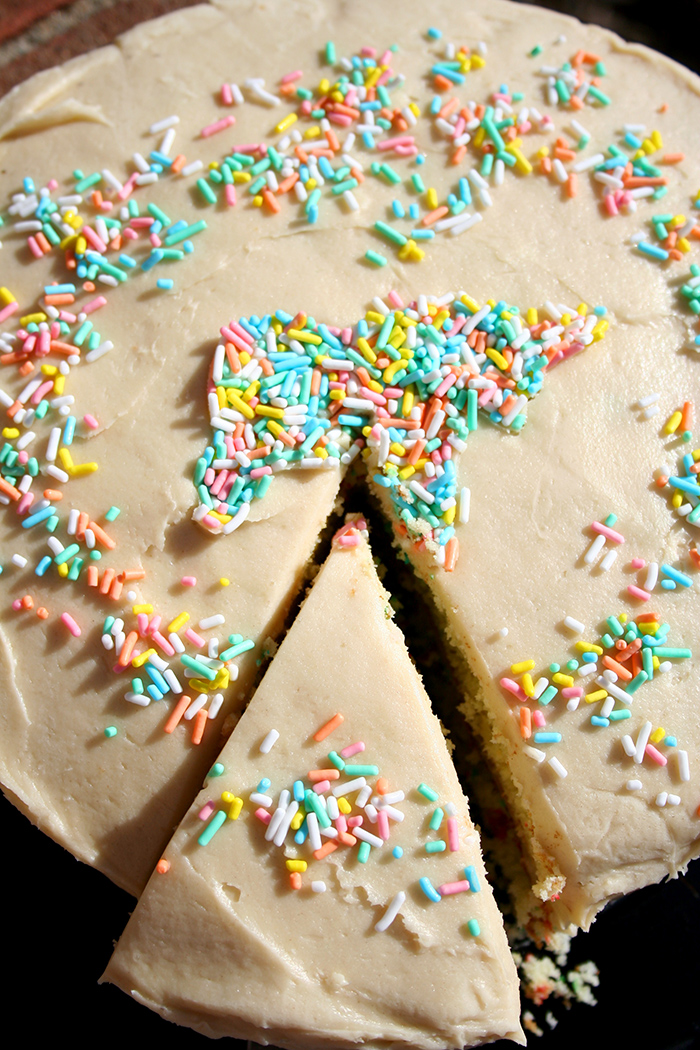
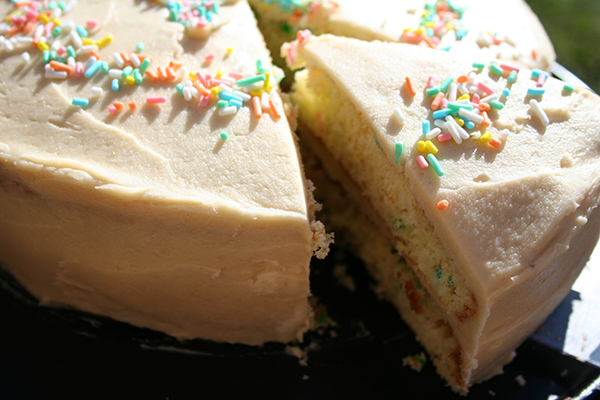
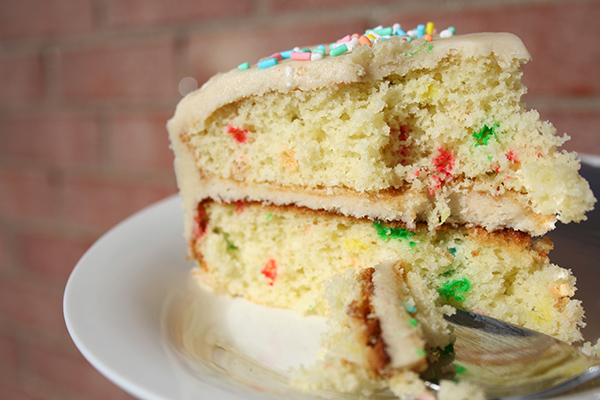
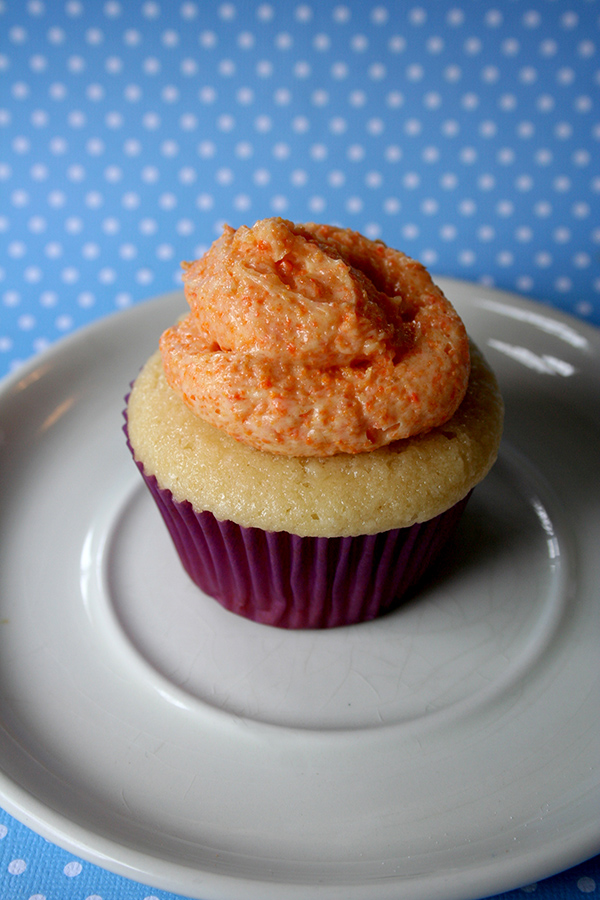
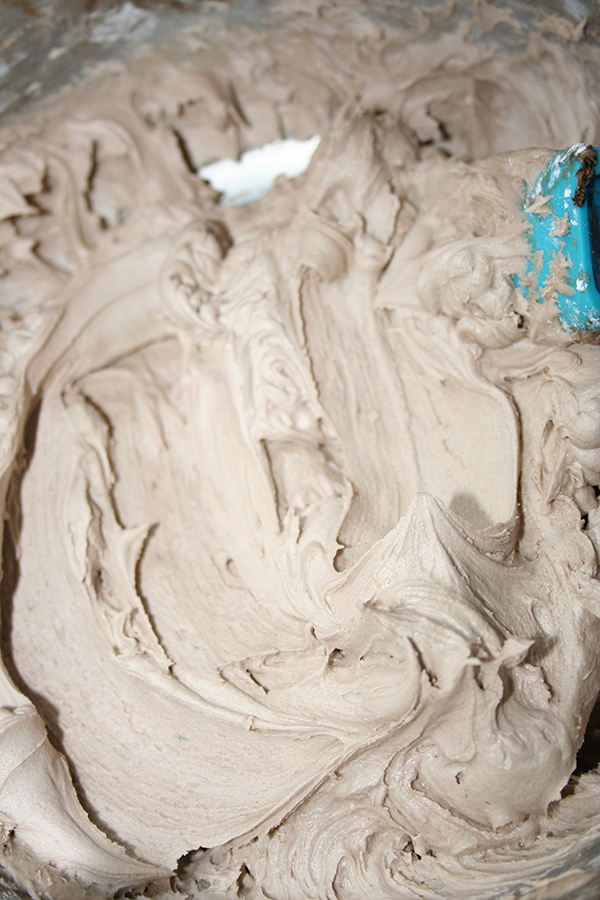
Well, it worked! This buttercream is easy to spread but "sets" like a fondant or marzipan coating.

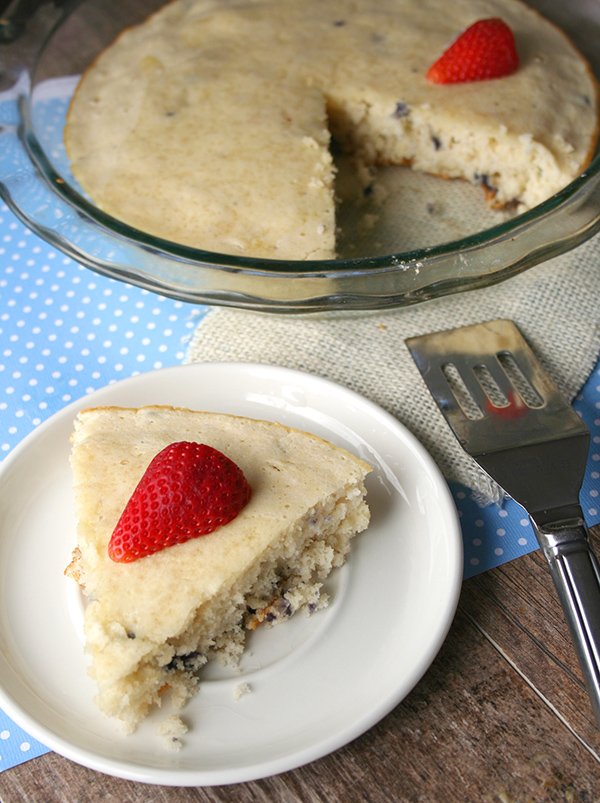
Alone on a cake it might be a little dry for some tastes, but if you serve it with some whipped cream or maybe mixed it up and used regular buttercream for the topping or filling and the cookie dough buttercream for the other, I think it's a recipe with great promise.
Sugar cookie dough buttercream
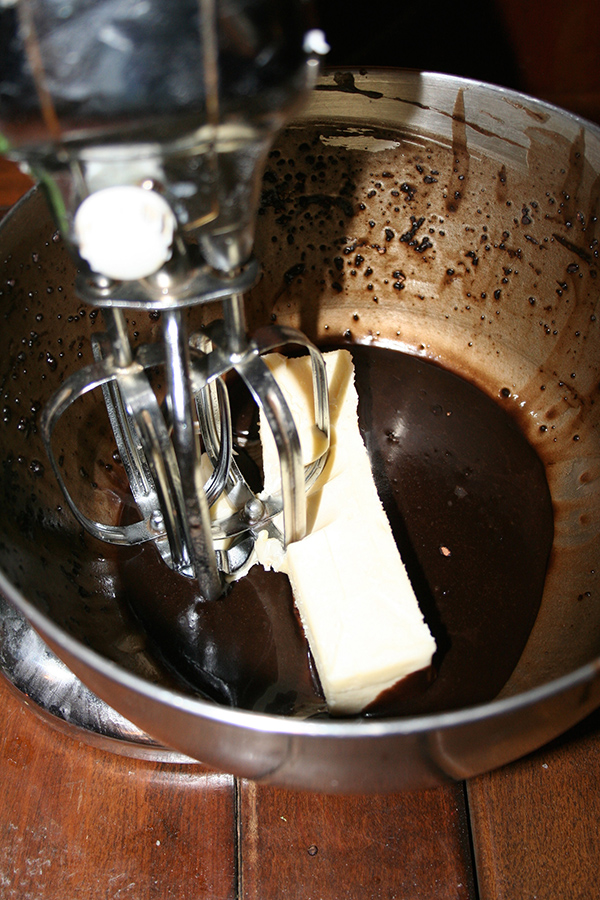
- 2 sticks of unsalted butter, softened
- 1 box sugar cookie mix (I used "Purely Simple" sugar cookie mix)
- Milk, to thin (I used about 1 cup)
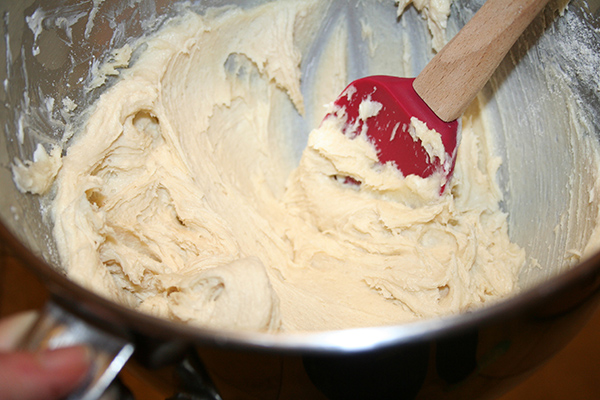
Cream the butter for about 2-3 minutes on high speed in the bowl of a stand mixer fitted with the paddle attachment. Nice and creamy.
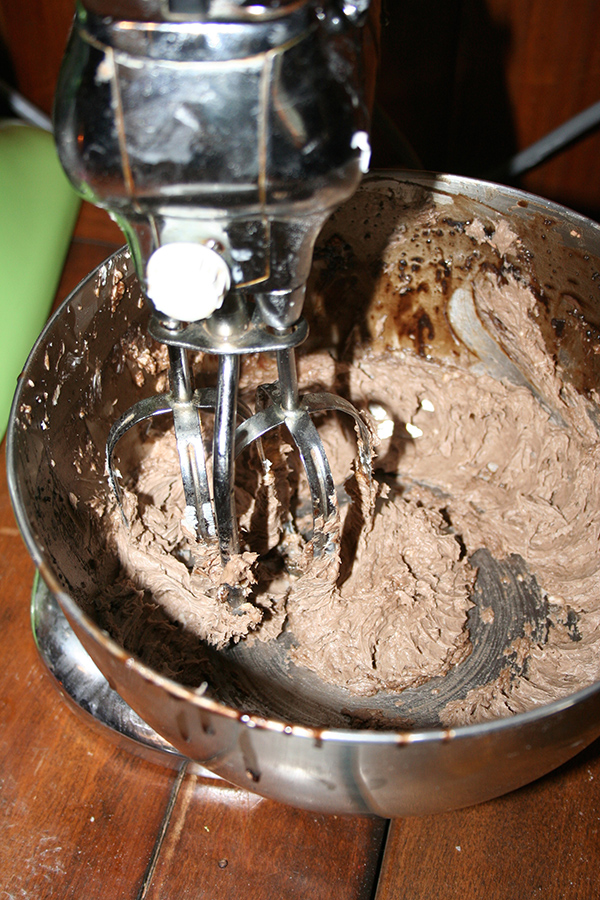
Add the cookie mix. It will start to look distinctly like cookie dough.
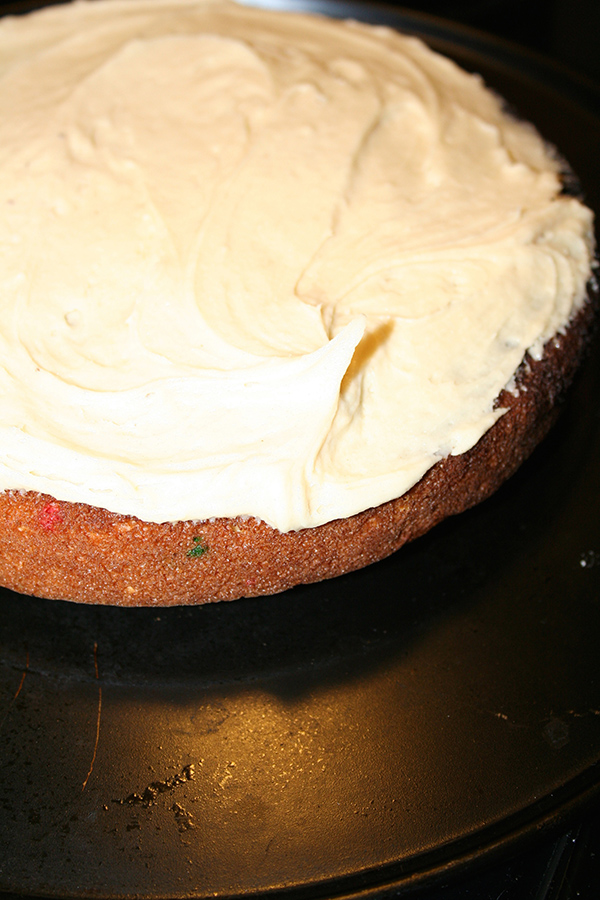
Stir in milk, a bit at a time, until the mixture has softened into a spreadable, buttercream-like consistency. Since this buttercream sets firm, use it immediately to top or fill your cake.
Enjoy!