This week, I took a peek at my website statistics, and saw an oddly high number of click-overs from one particular web forum. Curious, I clicked over to see what was going on.
Turns out, it was a thread about totally disgusting food blogger creations, and I was prominently featured. One of my recipes even warranted a little animated vomiting emoticon (oddly adorable), and a proclamation that "Sandra Lee must be her idol".
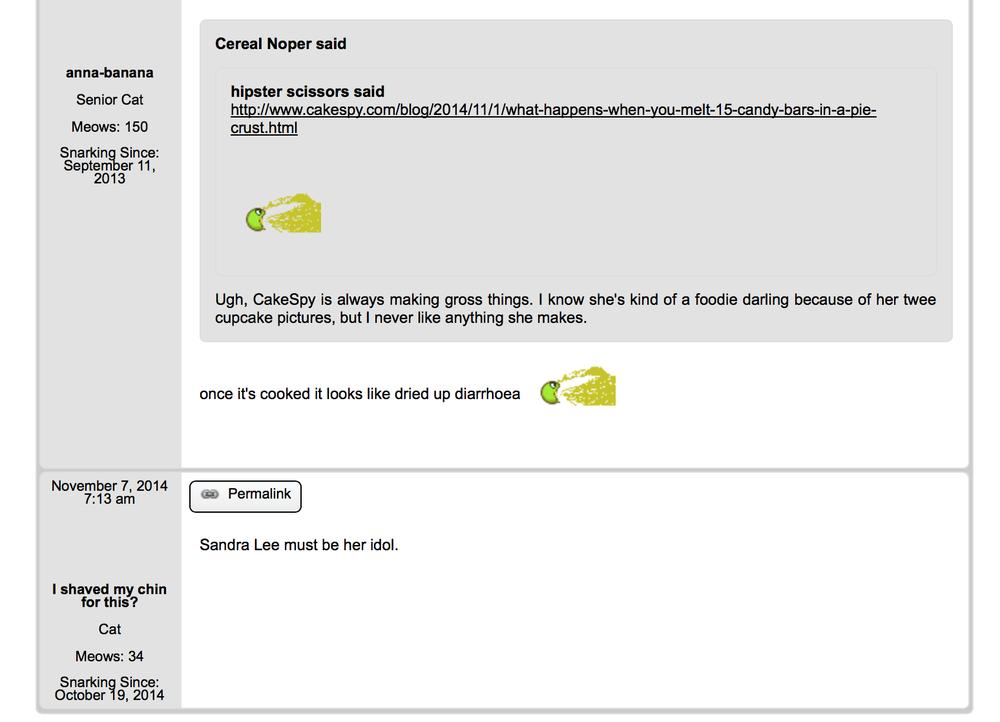
You could call these commenters nasty or rude, and I certainly wouldn't correct you.
The funny thing is, though, these so-called "haters" have actually done me quite a service with their attentions--they significantly upped my web traffic, which ultimately translates to more income for me in various ways. Most obviously, more views means more ad revenue--to a reasonable degree, ads don't care if you're horrified by the content, they just care about if their ad is viewed. But this attention can also lead to increased income in other, indirect ways. For instance: maybe someone will click over to see exactly what is so hate-worthy and then think "the recipes are awful but gosh, this artwork is cute" and click over to my webstore and buy a print.
It reminds me of when I was in art school, and there was a very controversial show at the Brooklyn Museum. It got a lot of negative attention, but this didn't mean the show was a failure. It was crowded ALL THE TIME. My takeaway was this: it doesn't necessarily matter if the reaction is good or bad to your art. The idea is that you want to GET a reaction. So, you know, the fact that people are reacting in horror to my candy bar pie or my deep-fried cupcakes on a stick doesn't bother me--I consider it a badge of pride that I am being noticed.
Don't get me wrong: I'm not totally zen about it. If I ran into one of these commenters in person, I would hasten to do something small and snide, like not hold a door open for them or hustle so I could get into the grocery line before them with a cart full of pop-tarts and pop-n-bake biscuits.
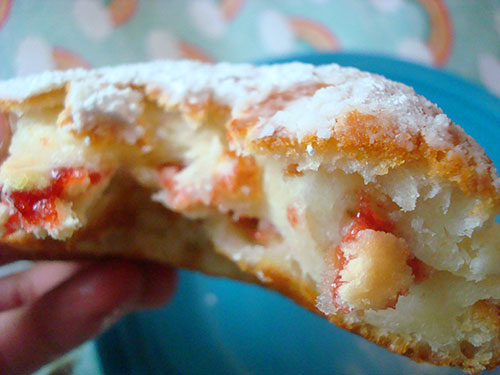
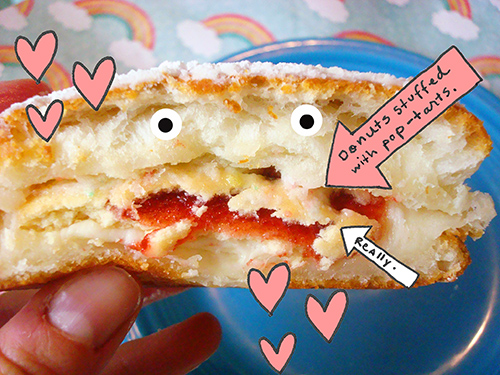
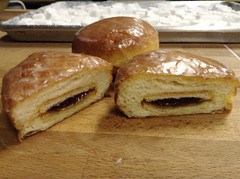
With all of the above in mind, particularly the part about pop-tarts and pop-n-bake biscuits, I'd like to present a recipe for the haters: Pop-Tart Stuffed Biscuit Donuts.

The recipe was inspired by an actual, classy recipe, which was made by a pastry chef reader, Stephany Hicks from South Carolina. She called them "Pie-Nuts" and made them with a real yeast raised doughnut dough and homemade pies inside. Because she's classy and talented.
 Of course, I went right in and made them somewhat trashy (I can't help it! I'm from New Jersey!) by substituting pie with pop-tarts, and doughnuts with pop-n-bake biscuit dough. Luckily, Stephany wasn't offended. She found it amusing, bless her sweet little soul.
How did they taste?
Calorie-laden, slighty synthetic, and very sweet. The type of food that you know isn't necessarily good, but that somehow you can't...stop...eating. That is to say, awful and awesome, all at the same time. But...you already knew that, didn't you?
A dedication
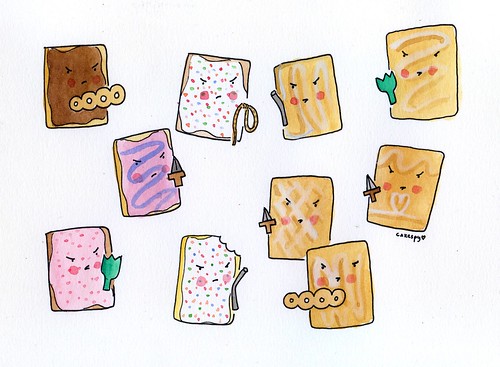
This recipe is dedicated to everyone who has taken enough time to take issue with what I do--I paid for the ingredients with the money I earned from your web traffic. I think that deserves a new emoticon:

Note: I've called these "donuts" rather than "doughnuts"...because when paired with Pop-Tarts, it just felt more appropriate.
Pop-Tart Stuffed Biscuit Donuts
Makes 4
Adapted from How to Make Doughnuts Using Biscuits from a Tube
- 1 tube of pop-n-bake biscuits (with 8 biscuits)
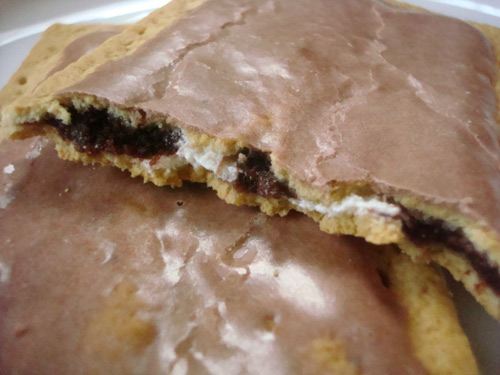
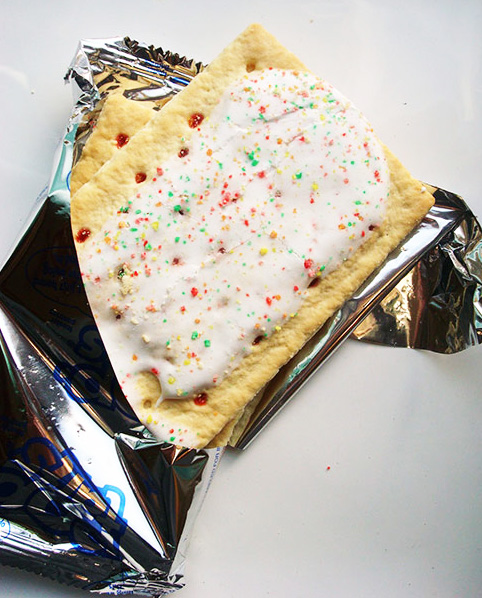
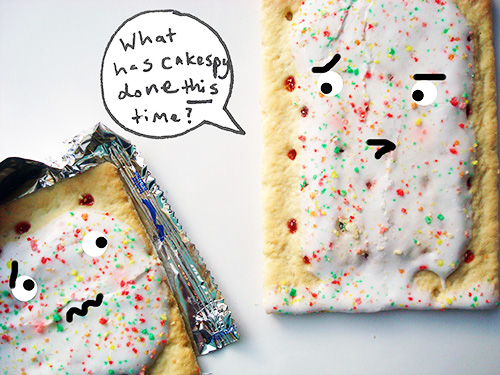
- 1 Pop-Tart, cut into 4 equal pieces (I used a strawberry frosted--classic)
- vegetable oil, for frying
- a skillet for frying
- confectioners' sugar, for dusting
Procedure
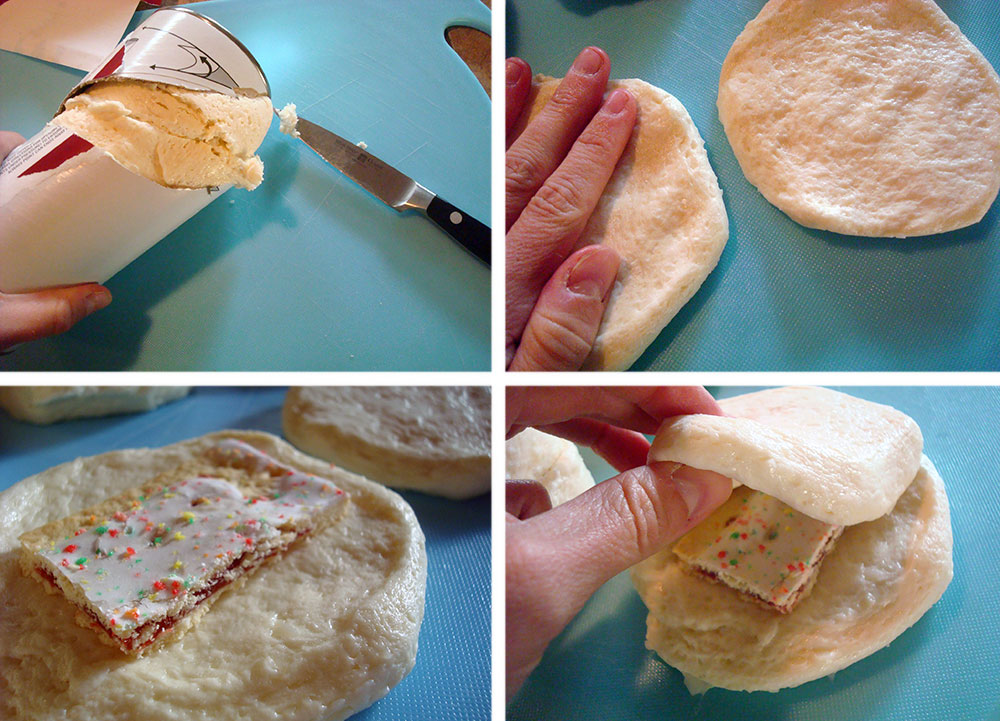
- Open up your tube of biscuits. Take out the biscuits, and flatten each one with your hand.
- Place a piece of pop-tart in the center of one of the flattened biscuits, and place a second on top. Seal the edges to keep the pop-tart contained.
- Repeat with the remaining biscuits and pop-tart pieces.
- Pour the oil in your skillet until it is about 1/2 inch thick. Heat the oil on medium heat until it has reached 375 degrees. Don't have a thermometer? You can also break a small piece of dough off and toss it into the pan. If it starts bubbling assertively right away, you're probably ready to rock and roll.
- Gently transfer one donut at a time into the pan. When they start to rise in the oil and turn brown, flip 'em. These are bigger than your typical donut, so they might require a little more frying time.
- Once fully fried, transfer to the paper towels to blot excess oil.

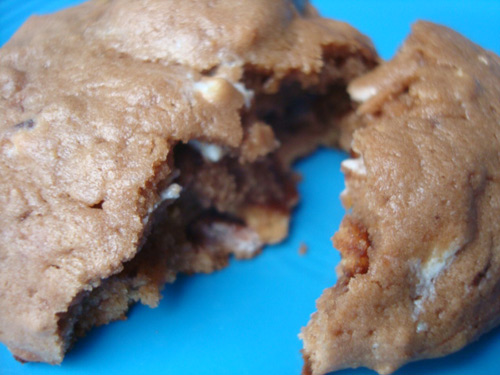
- Gently cut one of the donuts open to check that it is cooked through. If they seem doughy inside, pop them in a 350 degree oven for 5-10 minutes until completely set inside.
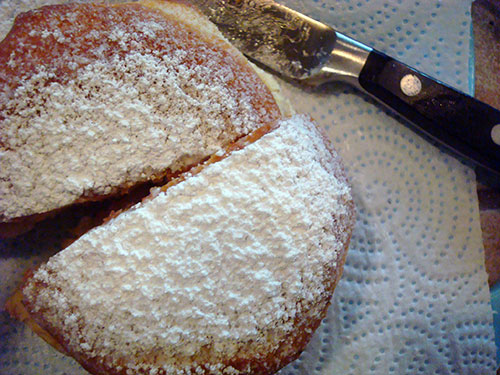
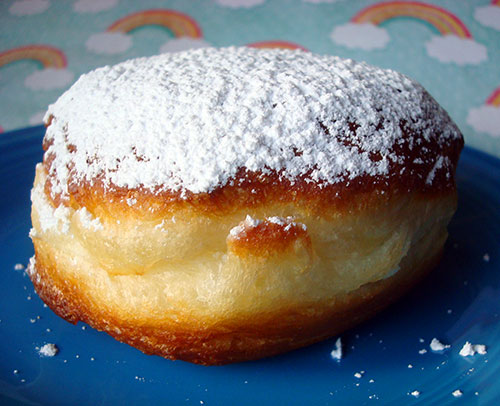
- Once finished, dust with confectioners' sugar and serve warm.