
 Now would be an appropriate time for me to act very high and mighty on the subject of Hello Naomi in a "I discovered her way before the fact" sort of way. After all, she was first featured on CakeSpy over 2 years ago, while she was still a student and baked only as a Flickr-posting hobbyist. But I'm not gonna be like that--I can share.
Of course, awesome like hers couldn't be contained, and now she's moved on to wonderful things including starting her own baking business, and she's also dipped into party planning and works with a company that does invitation design.
And happily, she's offered up a sweet tutorial for Valentine's Day Cupcakes. It's not too late to whip up a batch for your sweetie!
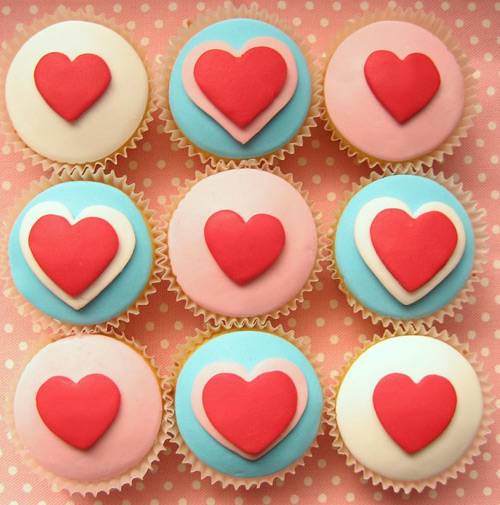
Valentines Day Cupcake Tutorial
Makes 12
What you will need:
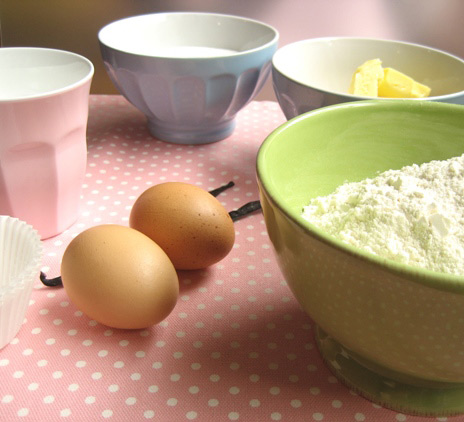
- 12 vanilla cupcakes (here's Naomi's recipe)
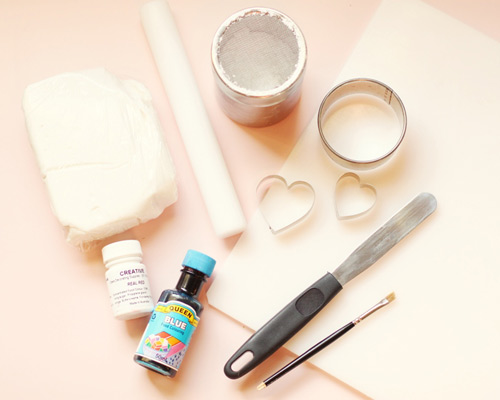
- 500g ready to roll white icing (fondant)
- Red gel food dye
- Blue food dye
- Circle cutter (the same size as your cupcake tops)
- 2 size heart cutters
- Non-stick small rolling pin
- Plastic mat
- Pure icing sugar for dusting
- Water or cake decorating glue w/ small paintbrush
Procedure
- Divide the fondant into 4. Using a plastic mat, dye one lot of fondant red, one pink, one blue and leave the other white. Colouring is done by kneeding drops of colour into the fondant until mixed through evenly. Pink is made by using a small amount of the red dye, red is eventually achieved by using a fair amount of dye (using a gel dye is much faster than using liquid dye). Use sifted icing sugar to soak up any moisture from the dye and prevent sticking. Wrap each colour in cling wrap. Wipe mat after each colour.
- Roll out the white fondant until aprox ¼ inch thick. Dust icing sugar on the top and bottom if sticking and dust away excess.
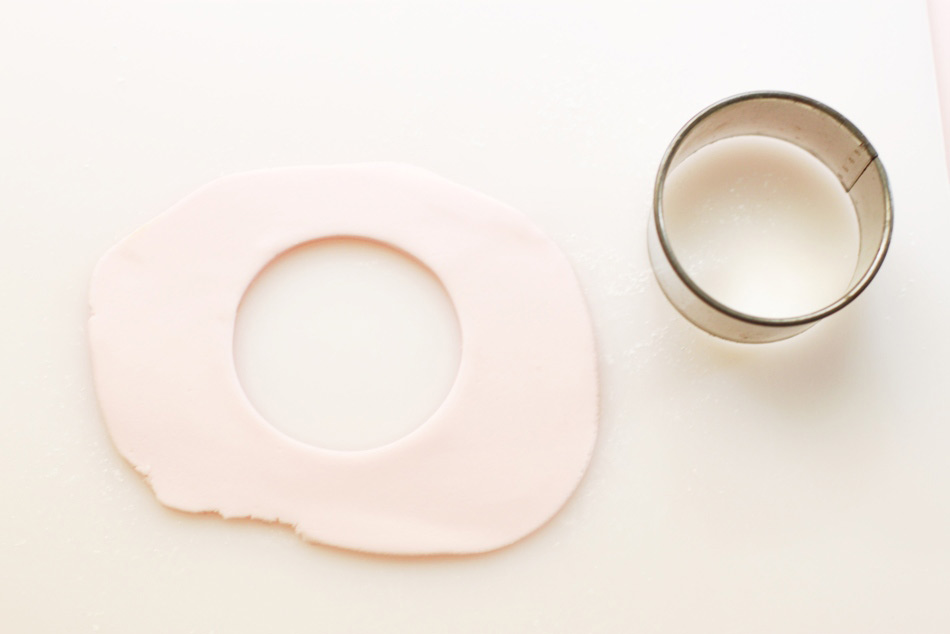
- Cut out 3x circles using the circle cutter. Using a pallet knife or flat knife lift each circle, lightly wet the back using a paint brush and place onto a cupcake. Smooth the top and edges using the palm of your hand. Wrap excess fondant in cling wrap.
- Repeat for 3 pink cupcakes and 6 blue ones.
- Once all the cupcakes are covered it is time to decorate them. Roll out the remaining pink fondant and cut out 3 large hearts. Lightly wet the back and place in the middle of 3 blue cupcakes. Roll out the remaining white fondant, cut out 3 large hearts, lightly wet the back and place in the middle of the remaining 3 blue cupcakes.
- Roll out the red fondant, cut out 12 hearts, lightly wet the back and place in the middle of each cupcake.
- Package them in a cute box with tissue paper, alternating designs, and give them to someone special!
About the contributor: Naomi was studying her PhD in Computer Engineering when she discovered her love of cake decorating. By posting photos onto the photo sharing website flickr under the user name ‘hello naomi’ she quickly became well known for her original designs and demand quickly grew to the point where she decided to start a business in 2009. Since then she has also ventured into party planning, collaborating with Imprintables invitations to form scissors.paper.cake.