
 This necklace is not only delightful, it is delicious.CakeSpy Note: This tutorial is provided courtesy Cake Gumshoe Jasmin, a suspected sweet genius who, among other things, has invented cupcake-stuffed strawberries. Check out her work at 1 Fine Cookie!
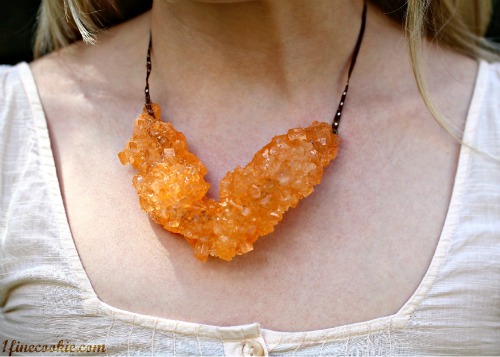
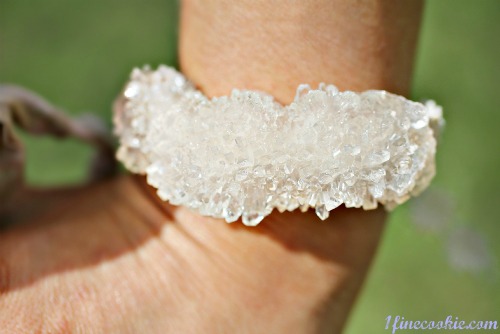
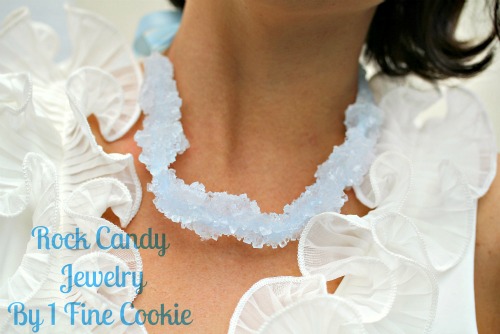
It’s fashionable, pretty, tastes good, affordable and easy to make. What’s not to like about 1 Fine Cookie’s rock candy jewelry?
 These precious “stones” are made with unique flavors, such as marshmallow, peanut butter and more. The flavor is up to your preference!
 Make these for ladies’ night, showers, bachelorette weekends, birthday parties, with the kids, or for Mother’s or Valentine’s day. The possibilities are endless!
The bare-bones basics are listed below; for a more detailed tutorial, visit 1 Fine Cookie.
 Ingredients and Tools:
- clothes pin
- large glass container
- ribbon
- sugar
- optional but recommended: Torani syrups.
- optional: food coloring
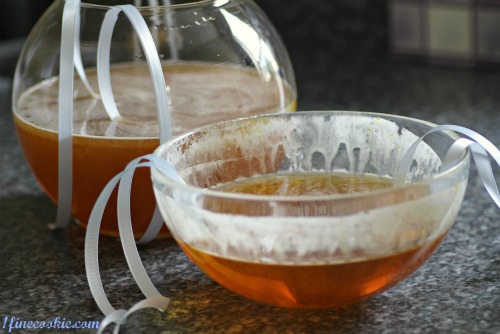 Process shot!
How to make it happen
-
Cook about one part water to three parts sugar. One necklace will be about 1 cup water, as a reference point.
-
Once the sugar has completely dissolved and simmered, turn off heat and cool. Mix in any food coloring, and a few drizzles of your choice Torani syrup for flavor.
-
Soak middle of ribbon (about 2 feet or more) in the sugar water mixture, then coat in sugar overnight until dry.
-
Place middle of ribbon inside of sugar water, which has been poured into a large glass container. Use clothespins to clip the ribbons and prevent from falling in.
Allow to grow! Move necklaces around a little every day to prevent it from sticking to the sides. While factors will play into how long this will take, including the size of your piece, the humidity, et cetera, you're basically looking at 1-4 weeks.
 Cakespy has written permission to feature the recipe, writing and photos of 1 Fine Cookie. Be polite: if you would like to share as well, please visit the website for policies first.