Hi buddies! This recipe was originally published in 2009 on this site; it's so good that it's worth revisiting. In case it's been a while, or if you have never seen this one before...enjoy!
CakeSpy note: since these headnotes were written years ago, obviously a bit out of date. But honestly, that's part of the fun: revisiting the past and reflecting on how many things have changed!
From CakeSpy: When you visit Pâtisserie Natalie, you'll undoubtedly be impressed. The pictures are simply gorgeous; the recipes are creative and sophisticated, yet unfussy. Here's a note from the girl behind the blog:
From Natalie: Hi, my name is Natalie, from Pâtisserie Natalie. I'm so excited to get to do a guest post for CakeSpy; I've been a fan for a long time. I'm a high school student from Seattle who loves photography, food styling, and baking. I've been interested in the arts since I was really little, and found my real calling through blogging. I didn't discover the food blogging world until recently. I also didn't realize how much I would love it. My blog gives me a way to share my design and creative flow with other people, as well as see other artist's work.

I started baking more seriously about 2 years ago, but it is now an addiction. Ask anyone who knows me and they will tell you I am more frequently in the kitchen then not. I absolutely cannot stay away from my kitchen aid mixer and my camera. I am self-taught in html/css coding, and do all my own graphics and layout work for my blog (CS Note: she's interested in pursuing a career in web/graphic design and photography).
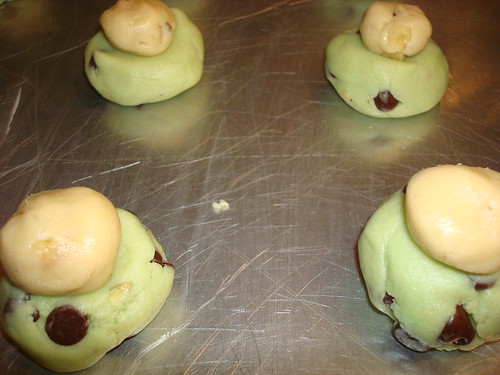
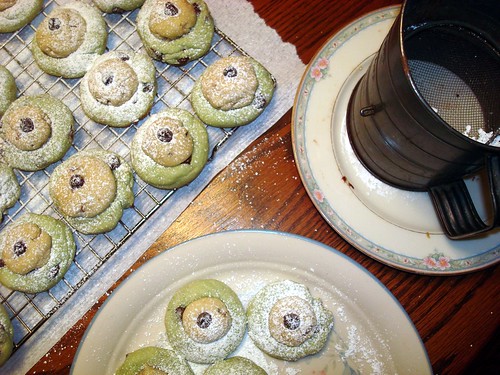
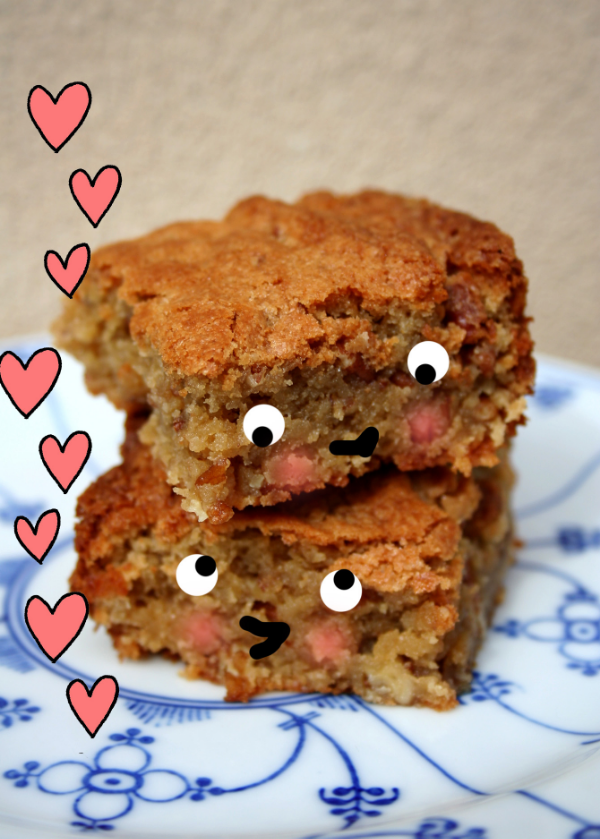
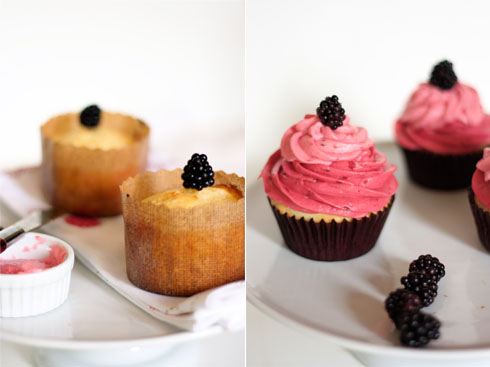
I decided to make these Lemon Berry Cupcakes because as many people know, Seattle doesn't have that many sunny days during the year. Summer flavors for me are lemon and berries. Seeing as the sunny days are limited, I felt that I needed to make something that used those flavors. While I don't mind the rain at all (I love it, actually), many people are a little bummed that our summer days here are ending. With that in mind, I made these cupcakes as a sort of "summer revival." I've been working on the recipe for this lemon pound cake for a while, but I think I've finally got it. I'm often disappointed by lemon cake, as it doesn't actually taste lemony. That is not a problem for this cake at all. It's very moist and soft, which is not usually the case with pound cake. The frostings are made from raspberries and blackberries, which is why those frostings are
so
pink.
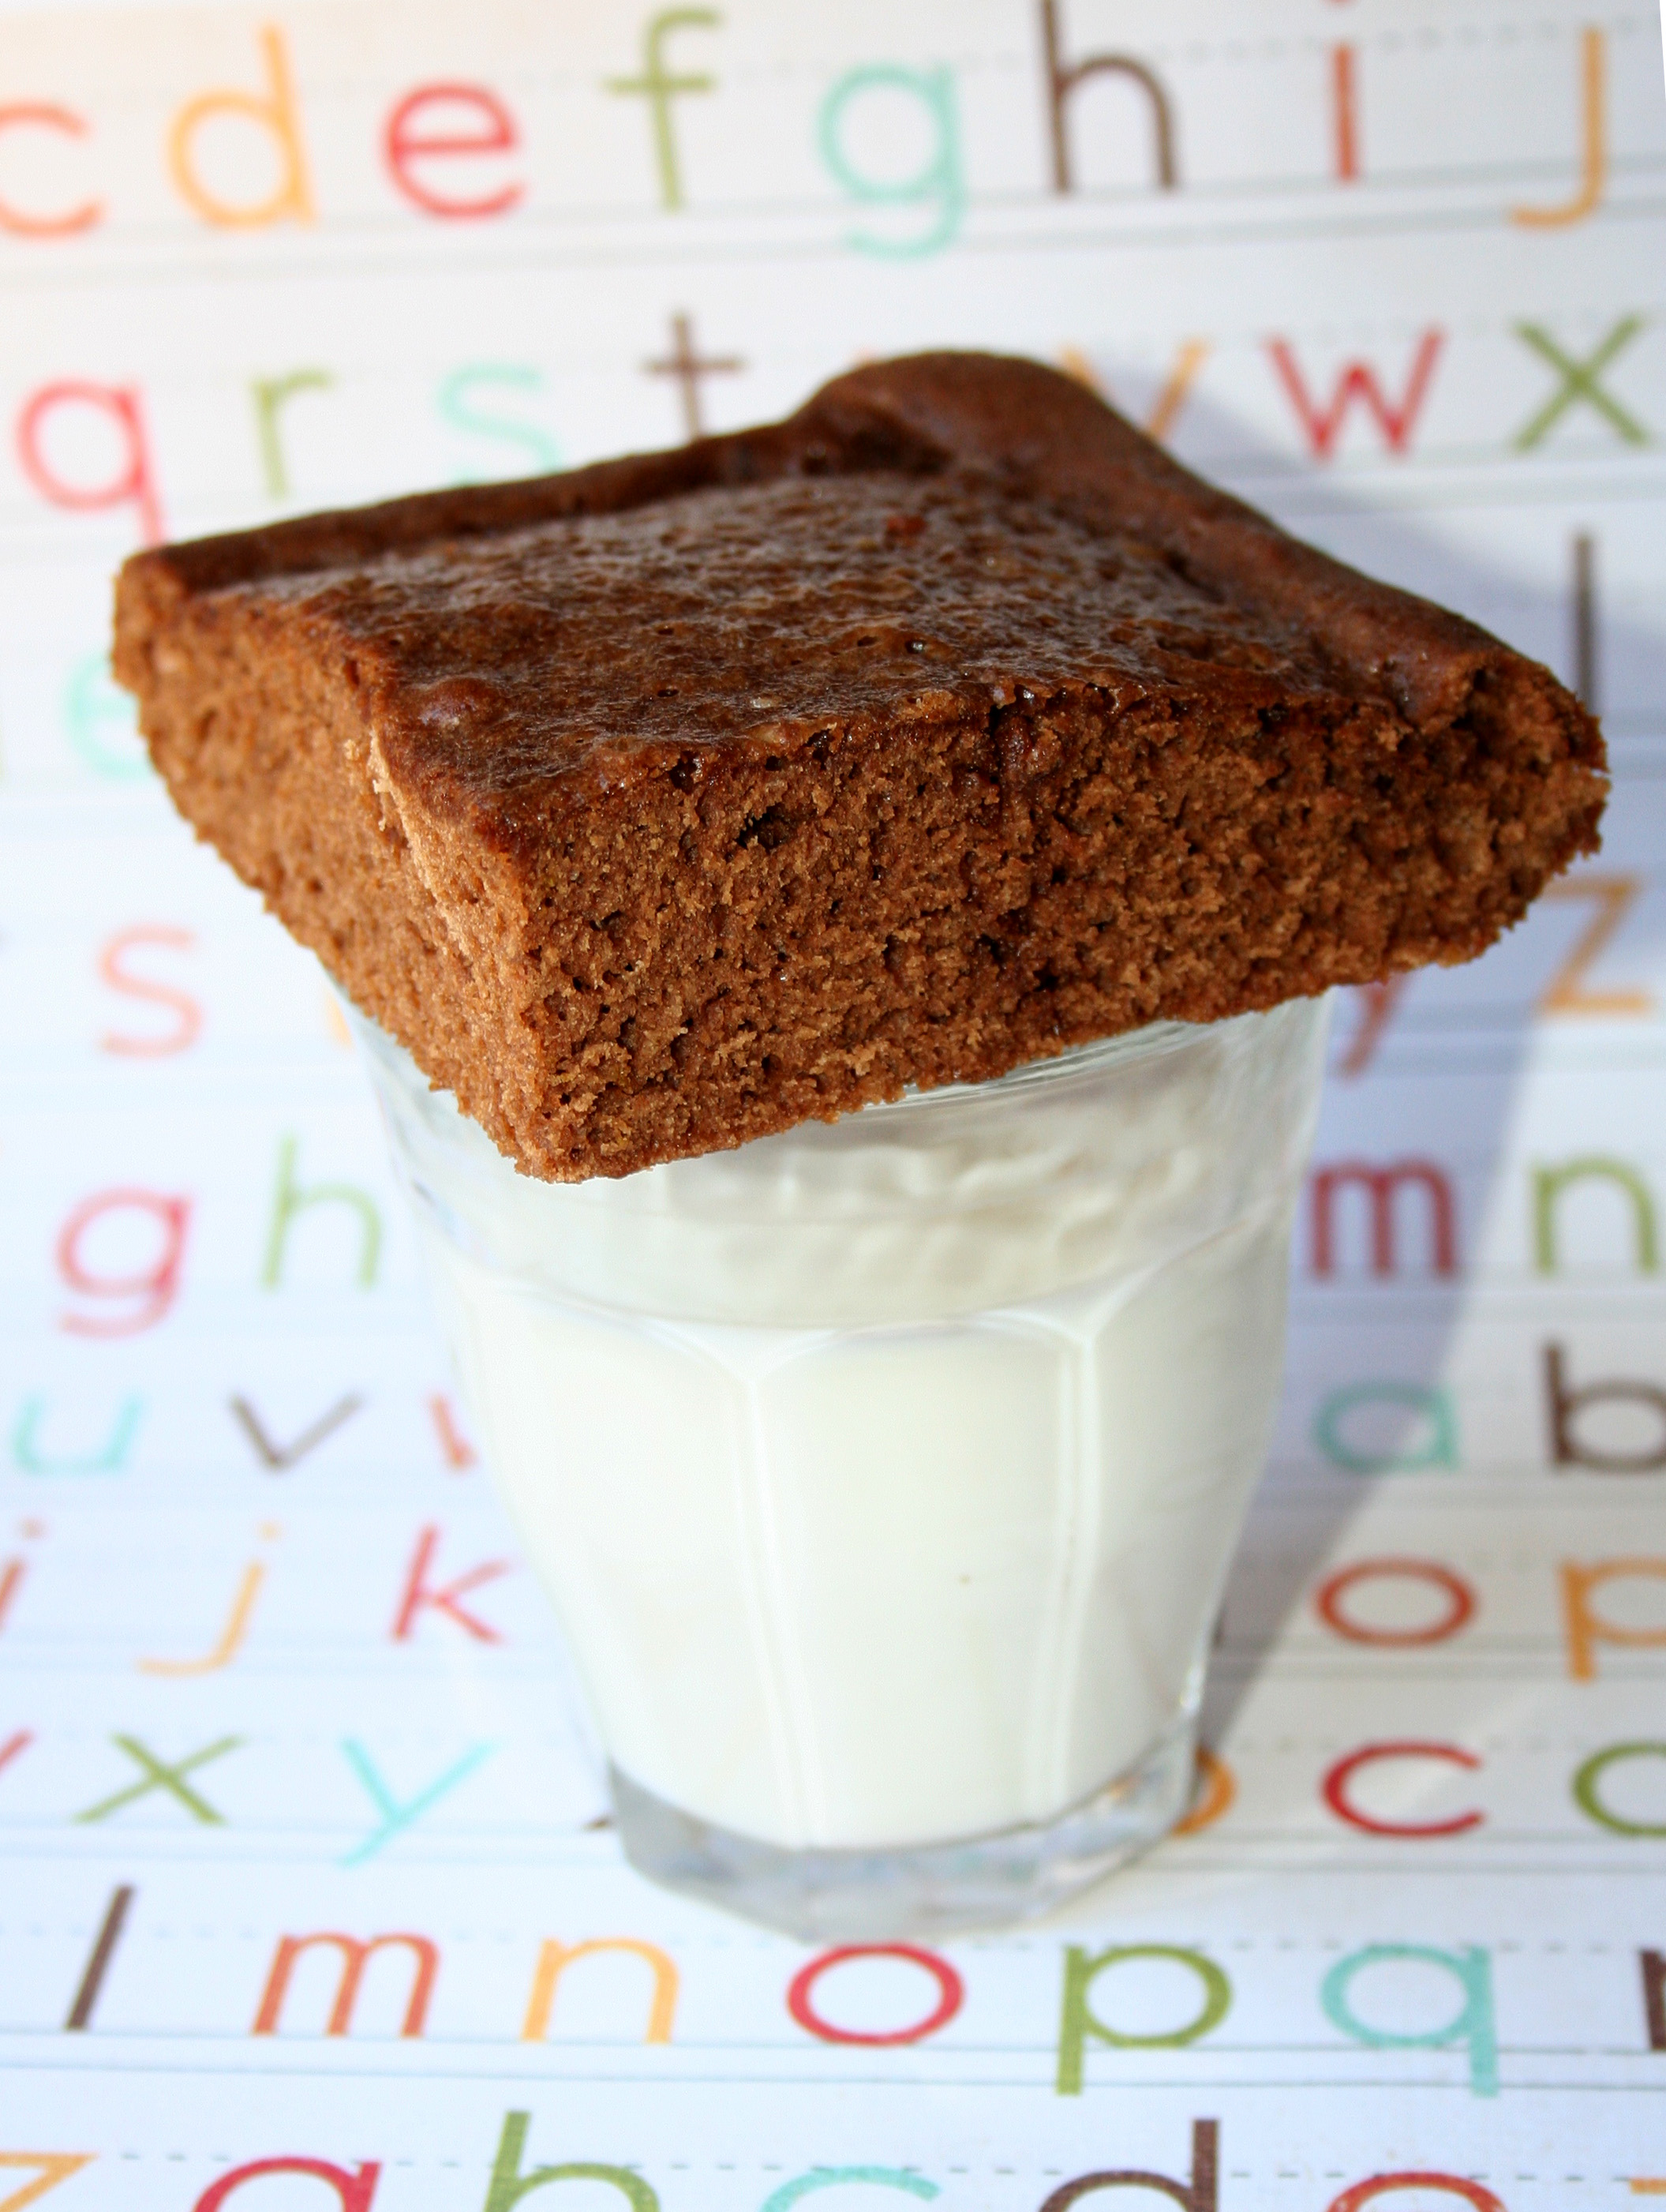
Lemon Pound Cake
- 3 cups all purpose flour
- 1 teaspoon salt
- 1/2 teaspoon baking powder
- 1/2 teaspoon baking soda
- 2 sticks unsalted butter; softened
- 2 cups sugar
- 3/4 cup plain yogurt
- 3 tablespoons lemon zest
- 2/3 cup lemon juice
- 5 eggs
- Preheat oven to 350 degrees F.
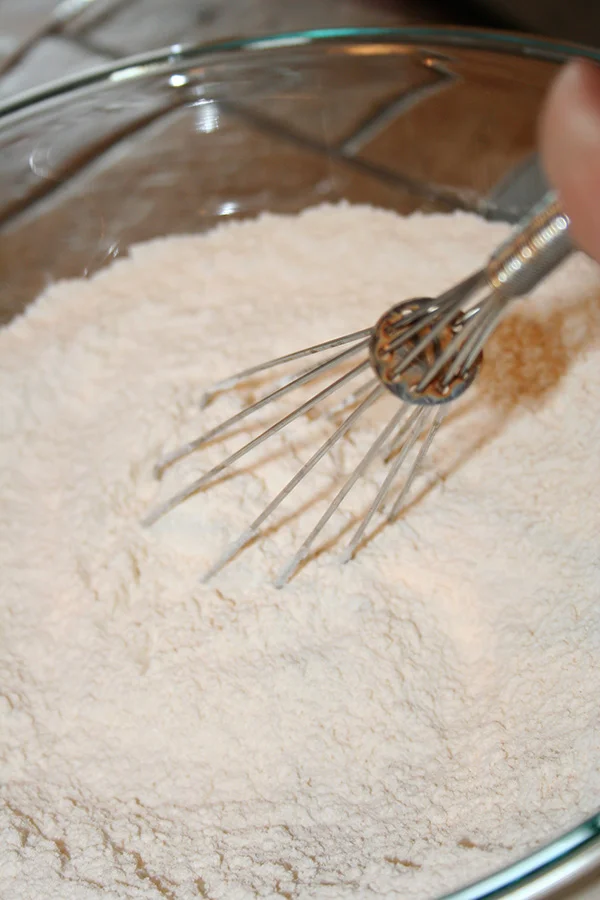
- Sift together the flour, salt, baking powder, and baking soda. Whisk together in a large bowl thoroughly, and set aside.
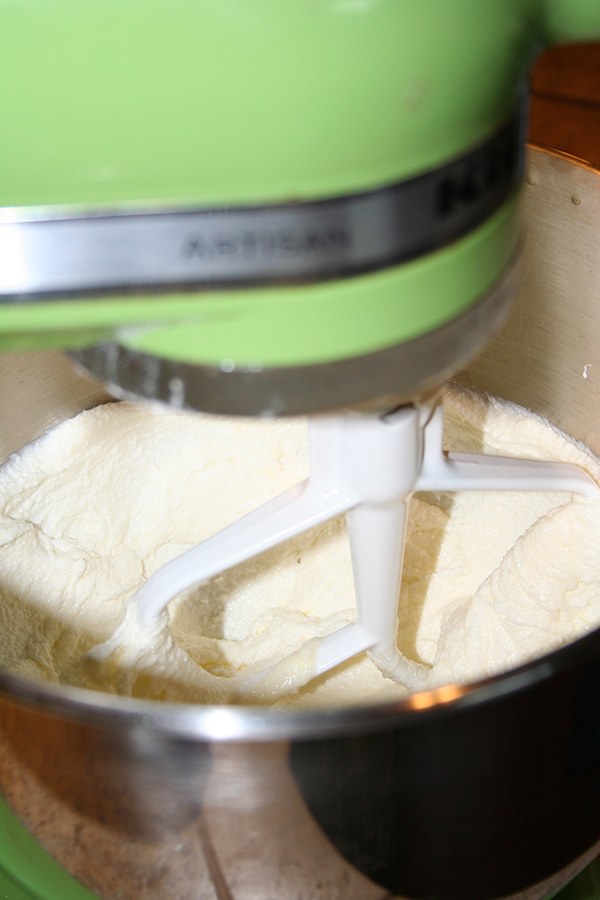
- In a stand mixer, beat butter and sugar until smooth.
- In a medium bowl, stir together yogurt, lemon zest, and lemon juice.
- Add the eggs to the butter and sugar one at a time, beating in between each addition.
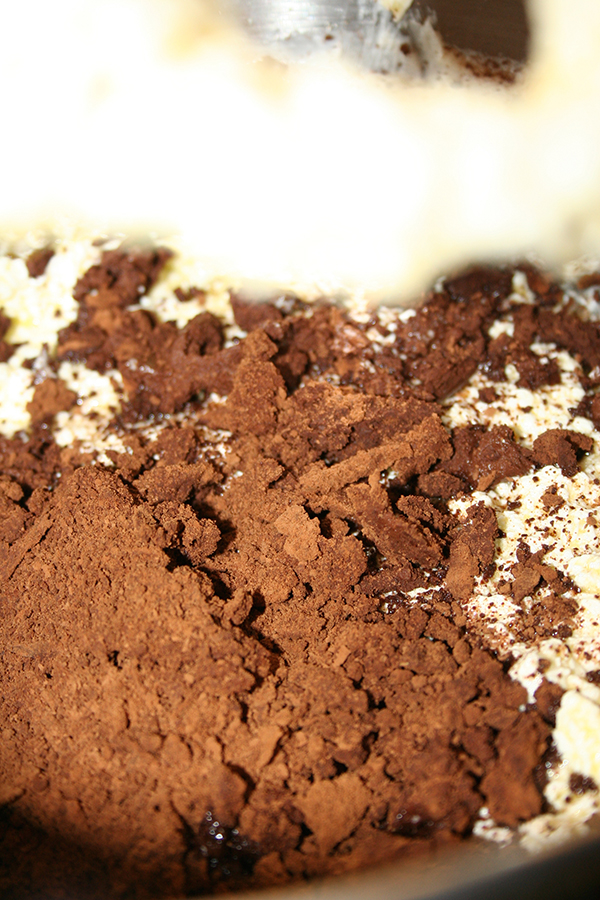
- With the mixer on a low speed, add the flour mixture in 3 parts, alternating with the yogurt mixture in 2 parts. Start and end with the flour mixture.
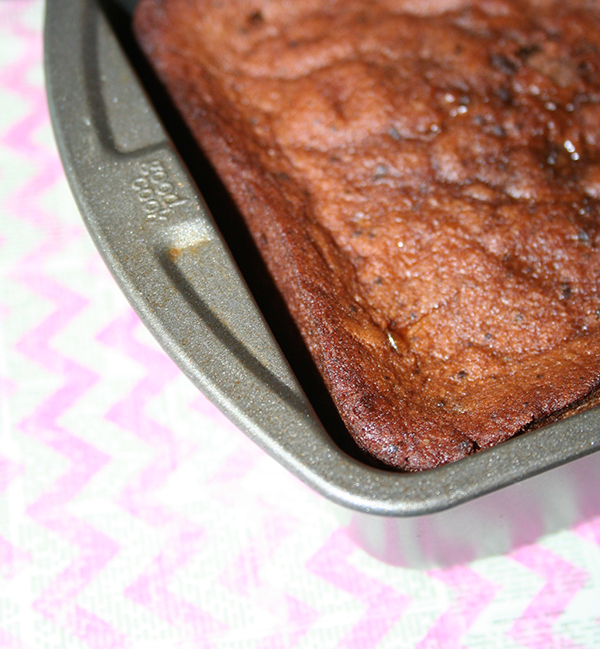
- Line a muffin pan with paper liners and scoop even amounts of the batter into the cups, filling almost to the top.
- Bake for 16 minutes, rotating the pan after 8 minutes. Once golden brown around the edges, remove from oven and place on a cooling rack for at least 2 hours before icing.

Blackberry & Raspberry Buttercreams
- 2-1/2 sticks unsalted butter; softened
- 1 teaspoon salt
- 2-1/2 cups powdered sugar; sifted
- 1/4 cup blackberry sauce
- 1/4 cup raspberry sauce
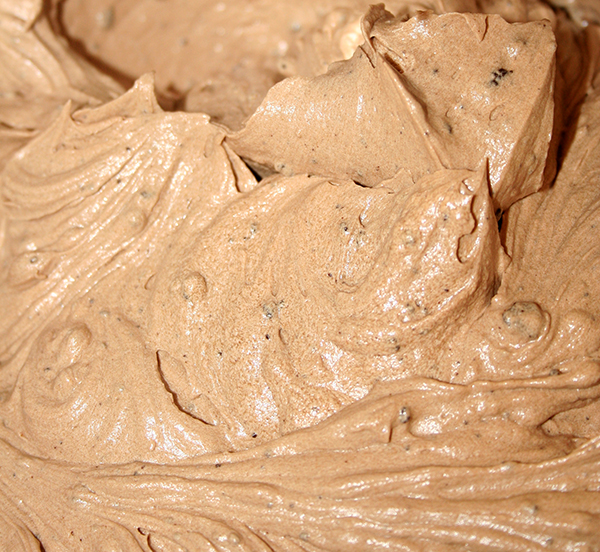
- Beat butter and 1 cup of powdered sugar until smooth. Divide into two parts, removing half from the mixer bowl. Add the blackberry sauce to the mixer bowl, along with 3/4 cup of powdered sugar. Place buttercream in a piping bag and pipe a circle around the outer edge of the cupcake top, spiraling in towards the center.
- In the same mixer bowl, add the remaining half of the butter and powdered sugar that was set aside. Add the raspberry sauce and 3/4 cup powdered sugar and beat until smooth. Place in a piping bag and pipe an extra dollop on top of the blackberry buttercream.
Blackberry Sauce
- 1 cup blackberries
- 2 teaspoons sugar
- 1 teaspoon lemon or lime juice
Combine ingredients in a sauce pan and place over medium heat. Stir frequently until juices from berries boil. Using a wooden spoon, crush the berries in the pan. Let boil for 2 minutes to make sauce more dense. Strain the mixture if you prefer to have smoother frostings. Cool in refrigerator.
Raspberry Sauce
- 1/2 cup raspberries
- 2 teaspoons sugar
- 1 teaspoon lemon or lime juice
Combine ingredients in a sauce pan and place over medium heat. Stir frequently until juices from berries boil. Let boil for 2 minutes to make sauce more dense. Cool in refrigerator.